
This is a part of a series on developing Gridworld Plus. See part 1 or the previous part for more details.
Basic player user interface
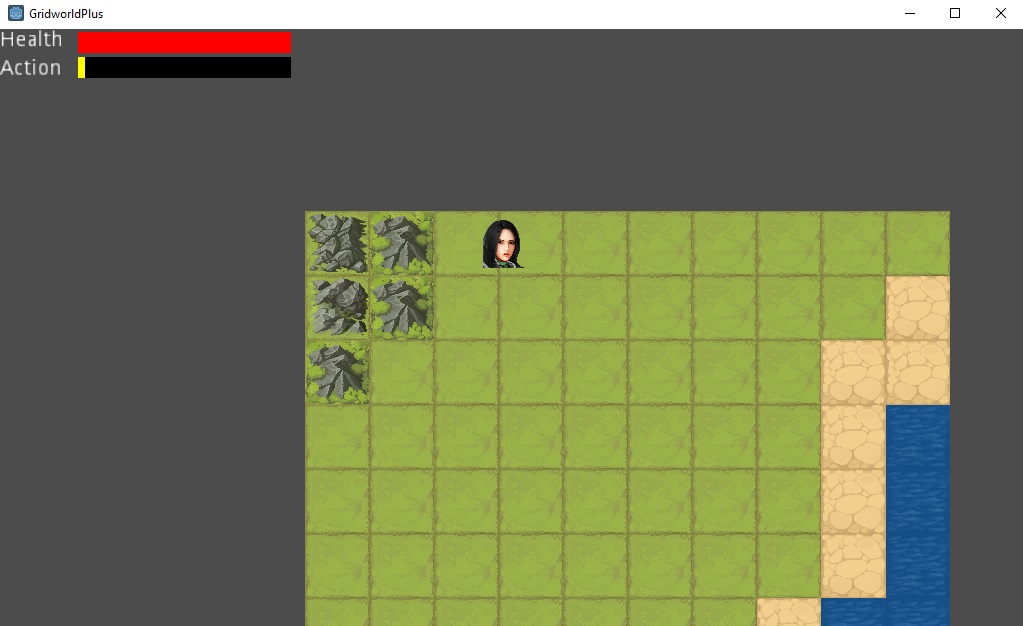
Now that we have the player movement with action implemented, it would make sense to display this information to the player, so they can see what’s going on with their Action resource when they perform their actions.
I made a UI (User Interface) scene PlayerUI, which included two ProgressBar subnodes and two Label subnodes, one for Health and one for Action.
For the two ProgressBars, I needed hide the percentage display and set the Control node’s Custom Style to be a StyleBoxFlat for both the foreground and the background, with the appropriate colors, to emulate the look-and-feel for a Health and an Action bar.

Now, to add it to our World scene’s UI, while making it appear over the top of our camera, the PlayerUI instance needed to be added as a child of a CanvasLayer subnode to the World node.
However, one of the most important parts of making this UI is connecting it with the player’s actual Health and Action information. To do so, we add an export reference to the player to the script of the PlayerUI, and use the information provided by the fields of the Player to set the values of the process bars (we added a health field to the Player with default value 100):
export (NodePath) var player

const full_health = 100.0
const full_action = 5

func _process(delta):
	if player:
		var node = get_node(player)
		$HealthBar.value = node.health * 100 / full_health
		$ActionBar.value = node.action * 100 / full_action
Now, we get a UI overlay of the player’s Health and Action, and we can see the live-updating of the Action depletion of the player.

Entity script
In perparation to adding enemies, a refactor of the Player script was made to make pull out the functionality that was common for both the player and enemies into the Entity script. A few functions that are the equivalent of “abstract methods” were added to the Entity script.
Now the Player script looks something like this (the rest of the functionality is in Entity):
extends "res://Entity.gd"

const move_cost = 0.5
const action_depletion = 1.0

func _get_action_depletion():
	return action_depletion

func _get_move_cost():
	return move_cost
Unfortunately, GDScript does not support mixins at the current moment, based on a Github issue referencing the missing feature. Mixins are essentially pieces of functionality that can be “mixed in” with objects. This can be used in place of inheritance that is typically associated with Object-oriented programming. One major advantage of mixins is that a single object can have multiple mixins, removing the need of either a single Entity class containing most of the functionality needed in many types of entities, or code being duplicated for every single entity. Instead, mixins such as PositionMixin, HealthMixin, SkillUserMixin, PathfindingMixin can be added as needed by specific entity types. Mixins are especially suited for dynamically typed languages, where the functions and properties of an object can change at runtime, and mixins can be added or removed at will.
Animating movement
A bit of a sidetrack in our effort to implement enemy behavior - moving characters instantaneously between spaces is not very interesting, and makes for some quite jarring gameplay. Instead, some curve-fitting can be used as a transition for a player in between moving from one position to another. This is especially fitting for this game, because of the action delay on movement, so the game knows for how long the movement needs to last.
The most obvious type of smoothing is known as linear interpolation, or lerp. This is a very popular method, as it is a very simple way of choosing a point between start and end. Simply take the weight, which is a number between 0 and 1, where 0 represents fully at the start and 1 represents fully at the end, and as the name would suggest, linearly interpolate. In other words, if weight is 0.25, lerp puts the point one quarter of the way from the start to the end.
However, simply lerping can still look somewhat unnatural for movement. Instead, we can use the smoothstep function (from the mathematical Smoothstep function) provided by the Godot engine for our curve-fitting function. smoothstep is similar to lerp in that it chooses exactly the start point when the input is 0 and the end point when the input is 1, but the difference is that the derivative of smoothstep is zero at both end points, making the start and end of the motion more “smooth”.
The animating code is fairly complicated compared to the rest of the code that I had written so far. Essentially, what was happening was that we needed to keep track of the start position of the animation, the end position of the animation, and the progress of the animation, in a way that persisted across frames. The following _animate_move function is called by _process each frame, and the _start_move_animation function is called by the move function when a move is performed, to set the appropriate values (_get_travel_time is an abstract function of Entity that is implemented in Player).
#Move animation variables
var animateStartX = 0
var animateStartY = 0
var animateEndX = 0
var animateEndY = 0
var animateTotalTime = 0
var animateTimeLeft = 0
func _animate_move(delta):
	if animateTimeLeft < 0:
		animateTimeLeft = 0
		displayX = x
		displayY = y
	if animateTimeLeft > 0:
		var weight = 1 - animateTimeLeft / animateTotalTime
		var step = smoothstep(0, 1, weight)
		var resX = step * (animateEndX - animateStartX) + animateStartX
		var resY = step * (animateEndY - animateStartY) + animateStartY
		displayX = resX
		displayY = resY
		animateTimeLeft -= delta

func _start_move_animation(x, y, dx, dy):
	animateStartX = x
	animateStartY = y
	animateEndX = x + dx
	animateEndY = y + dy
	animateTotalTime = _get_travel_time()
	animateTimeLeft = _get_travel_time()
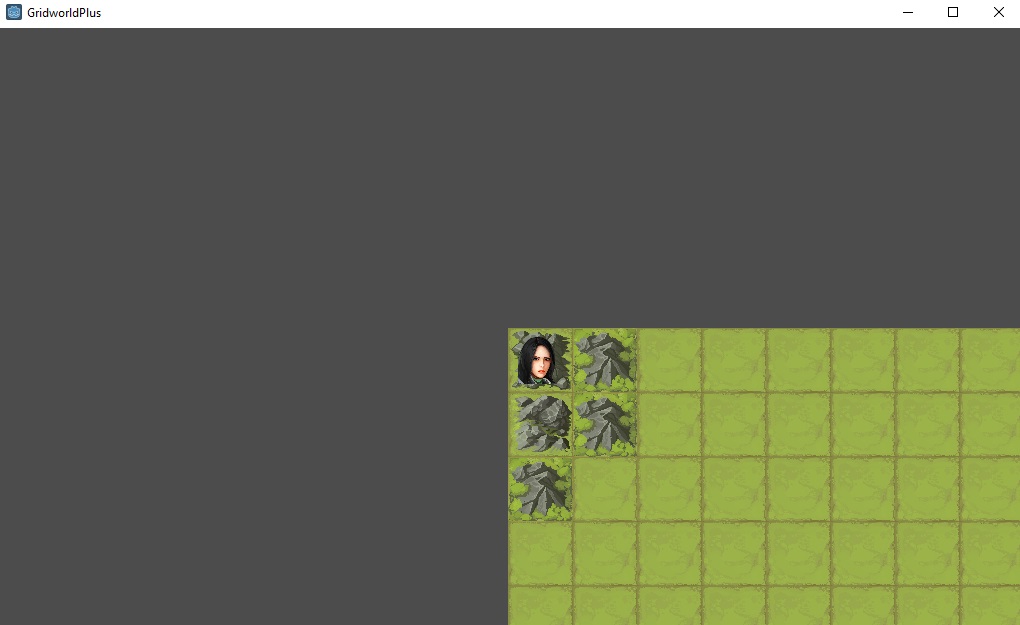
Although it’s difficult to precisely describe the updated smoothstep movement in words, as the effect is much more pronounced in the actual gameplay, here is a screenshot of the player moving in between two locations on the grid:
Next steps
In the next step in developing this game, we’ll finally get to add enemies and skills, for a minimum viable product. After that, there are many further directions that can be taken. Stay tuned!